 Sudden Valley Siding
 New-Construction Windows Aren't Just "Windows for a New House"
When people hear "new-construction windows," they often assume it just means windows going into a house that happens to be brand new. That's not quite it. New-construction windows have a nailing fin built into the frame, and they get installed before or during the siding phase — set into the rough opening, flashed into the weather-resistant barrier, and made part of the wall's water-management system from day one. That's different from a pocket replacement window, which drops into an existing opening around an old frame that's already flashed.
The distinction matters because a new-construction install gives you one real chance to get the water management right. Once the siding goes on over the flashing, that flashing sequence is buried. If it's done correctly, water that hits the window gets shed down and out, away from the framing. If it's done wrong, you usually don't find out for several years — by which time the evidence is inside the wall, not on the surface.
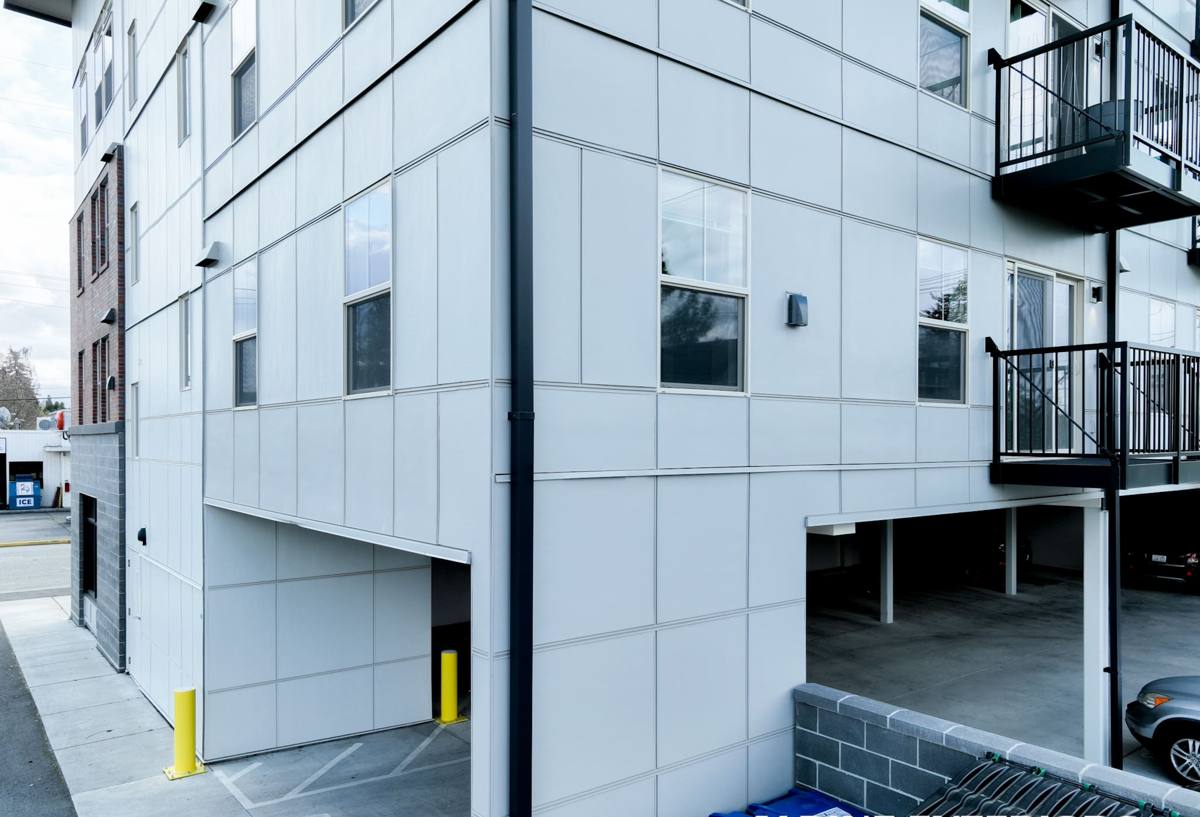
What Acme's Setting Does to a Window Installation
Driving rain and wind-blown moisture
Whatcom County gets more than its share of wind-driven, horizontal rain during fall and winter storm systems. That kind of rain doesn't just fall on a window — it pushes against it, working into any gap in the flashing or sealant that a calm, straight-down rain would never find. A flashing detail that would pass in a drier climate can fail here simply because the water is coming from more directions and with more force.
Wooded lots, moss, and slow drying
Acme and the surrounding Sudden Valley area sit in heavily wooded, lake-adjacent terrain. Tree cover is great for privacy and shade, but it also means less direct sun and wind hitting the walls, so wet siding and trim stay wet longer after a storm. That extended dampness is exactly what moss and mildew need to establish themselves around window trim, sills, and corner boards — and once moss holds moisture against a wall assembly, it slows drying even further. Add the salt-influenced air that moves inland through Whatcom County, and you get a climate that's genuinely harder on exterior building materials than most of the country ever deals with.
None of this means new-construction windows are a bad idea here — they're the right product for a new build. It means the installation details that are "nice to get right" in a mild climate are not optional here.
What a Correct New-Construction Window Job Actually Involves
Rough opening prep
Before a window ever goes in, the rough opening needs to be square, level, and the right size for the unit — with the sheathing and weather-resistive barrier (WRB) already in place around it. This is also when we check that the opening drains rather than traps water, because whatever happens here gets covered up permanently once framing and siding continue.
The flashing sequence
Correct flashing follows a shingle-style, top-over-bottom sequence so water always drains outward and down, never backward into the wall:
- A sloped sill pan flashing at the bottom of the opening, so any water that gets past the window has somewhere to go besides the framing
- Jamb (side) flashing that laps over the sill pan on both sides
- The window unit itself, set and shimmed level, plumb, and square
- Head flashing at the top, tucked behind the WRB above the window so it directs water out over the siding below, not behind it
- WRB integration at every layer, so the whole system — not just the caulk line — is doing the water-shedding work
Sealant strategy
Sealant has a real job on a window install, but it's a backup to good flashing, not a substitute for it. We keep the exterior sealant joints intentional and limited to where they belong, and we never rely on a bead of caulk to make up for a flashing step that got skipped.
Where We See New Builds Run Into Trouble
We're not naming names or pointing at specific past jobs — this is about the mistakes our trade sees often enough that they're worth calling out as a standard to hold every install to:
- Sill pans skipped or improvised with sealant alone instead of a proper sloped pan
- Flashing tape applied in the wrong order, so laps direct water into the wall instead of away from it
- Gaps around the window shimmed with expanding foam but never properly air- and water-sealed at the interior and exterior
- Head flashing omitted because the trim or siding detail "will cover it anyway"
- Window units installed out of square, which stresses the frame, the glazing seals, and the weatherstripping over time
Each of these can look completely fine on move-in day. The problems show up two, five, or ten years later — as soft trim, stained drywall below a window, or a musty smell in an exterior wall.
How We Handle Acme New-Construction Window Jobs
- Review the plans and rough openings with the builder or homeowner before windows arrive, confirming sizes and sill heights
- Inspect the WRB and sheathing at each opening for gaps, tears, or improper laps before any window is set
- Install sloped sill pan flashing at every opening — no exceptions for "it's under a covered porch" or similar shortcuts
- Set each window plumb, level, and square, and confirm proper shim placement so the frame isn't stressed
- Complete jamb and head flashing in correct shingle-lap order, tied into the WRB
- Coordinate directly with the siding crew (often us, on the same job) so the window flashing and the siding water-resistive layer are one continuous system, not two separate trades hoping they line up
- Final exterior sealant pass and a walk-through check on every opening before the job is called done
Matching Window Type to a Wet, Shaded Lot
New-construction windows come in a range of frame materials, and the right choice depends on budget, maintenance appetite, and how much weather exposure the lot actually gets. Here's how the common options compare for a moisture-heavy, moss-prone setting like Acme:
| Frame Material | Moisture Tolerance | Maintenance | Relative Cost |
|---|---|---|---|
| Vinyl | Good — won't rot, handles damp shade well | Low — occasional cleaning | $ |
| Fiberglass | Very good — stable in temperature and moisture swings | Low | $$ |
| Aluminum-clad wood | Good exterior protection, but relies on intact cladding and seals | Moderate — watch cladding seams and interior wood | $$$ |
| Bare wood | Requires diligent upkeep in a wet, shaded climate | High — regular painting/sealing | $$–$$$ |
For heavily wooded, slow-drying lots, we generally steer homeowners toward vinyl or fiberglass because they don't depend on a paint film or cladding seam staying perfect for decades to keep moisture out. That's a maintenance and long-term-value recommendation, not a knock on wood windows done well and maintained faithfully — it's about matching the product to how much upkeep the site actually gets, and being honest that a shaded, damp lot is unforgiving of missed maintenance.
Coordinating With Your Builder or General Contractor
On most new builds, window installation sits right at the seam between framing, the WRB/weatherproofing trade, and siding — which is exactly where responsibility gaps happen if nobody owns the whole sequence. When we're brought in for new-construction windows on an Acme project, we coordinate directly with the builder's schedule so the WRB, flashing, and siding water-management plan are treated as one system rather than three trades working off three different assumptions. If we're also doing the siding, that coordination is even tighter, because the same crew is carrying the water-management logic from the sheathing all the way through the finished wall.
Checklist Before Window Installation Starts
- Rough openings confirmed against actual window schedule and sizes
- WRB installed and inspected for tears, gaps, or missed laps
- Sill pan flashing plan confirmed for every opening, including any covered or recessed windows
- Drainage plane and weep path confirmed at each sill
- Sequence agreed with the siding trade so flashing laps are continuous, not improvised on-site
- Manufacturer installation instructions on hand for the specific window line being used, since fastening patterns and flashing details vary by product
Why a Crew Already Working Acme and Sudden Valley Matters
New-construction window installation isn't exotic work, but doing it well in this specific climate takes some local calibration. A crew that regularly works Acme and the broader Sudden Valley area already knows how shaded, wooded lots dry differently than open lots in town, has a working relationship with the local building department's inspection expectations, and has seen firsthand what wind-driven rain off Whatcom County storms actually does to a wall assembly that was flashed "close enough." That's not a substitute for following manufacturer instructions and code — it's what lets us apply those instructions correctly to the conditions your specific lot will actually face, rather than to a generic climate assumption.
After Installation: Keeping New Windows Performing
A correctly installed new-construction window is largely maintenance-free, but a little attention keeps it that way in this climate:
- Check exterior sealant lines once a year for cracking or separation, especially after the first full wet season
- Keep moss and organic debris cleared from sills, trim, and adjacent siding rather than letting it sit against the wall
- Make sure weep holes at the base of the frame stay clear so any incidental moisture can drain as designed
- Watch for soft trim or interior staining below windows, which is an early sign worth investigating rather than waiting on
If you're building or framing a home in Acme and want a crew that treats window flashing as part of the wall system rather than an afterthought, we're happy to walk the plans with you. Reach out for a free, no-pressure estimate using the form below.