 Sudden Valley Siding
 Sehome's Climate Is Harder on Siding Than Most Homeowners Realize
Sehome sits in a part of Whatcom County where the weather works against your siding almost year-round. It isn't dramatic storm damage that wears out a home here — it's the slow, steady combination of driving rain, salt-tinged air moving in off the water, and long stretches of grey, damp weather that barely lets a wall surface dry out between rain events. Add in a moss season that can run from fall through spring, and you have a climate that punishes any siding product with weak seams, absorbent cores, or a finish that can't shed water and resist organic growth.
We've worked on enough homes around Sudden Valley and the surrounding Whatcom County neighborhoods to know the failure patterns by sight: paint that's bubbled or peeled on the north and west-facing walls, caulk joints that have shrunk and cracked, trim boards that have gone soft at the bottom edge, and dark streaking or moss colonies creeping up from the ground line. None of that is inevitable. It's the result of a product or an installation that wasn't built for this specific climate.
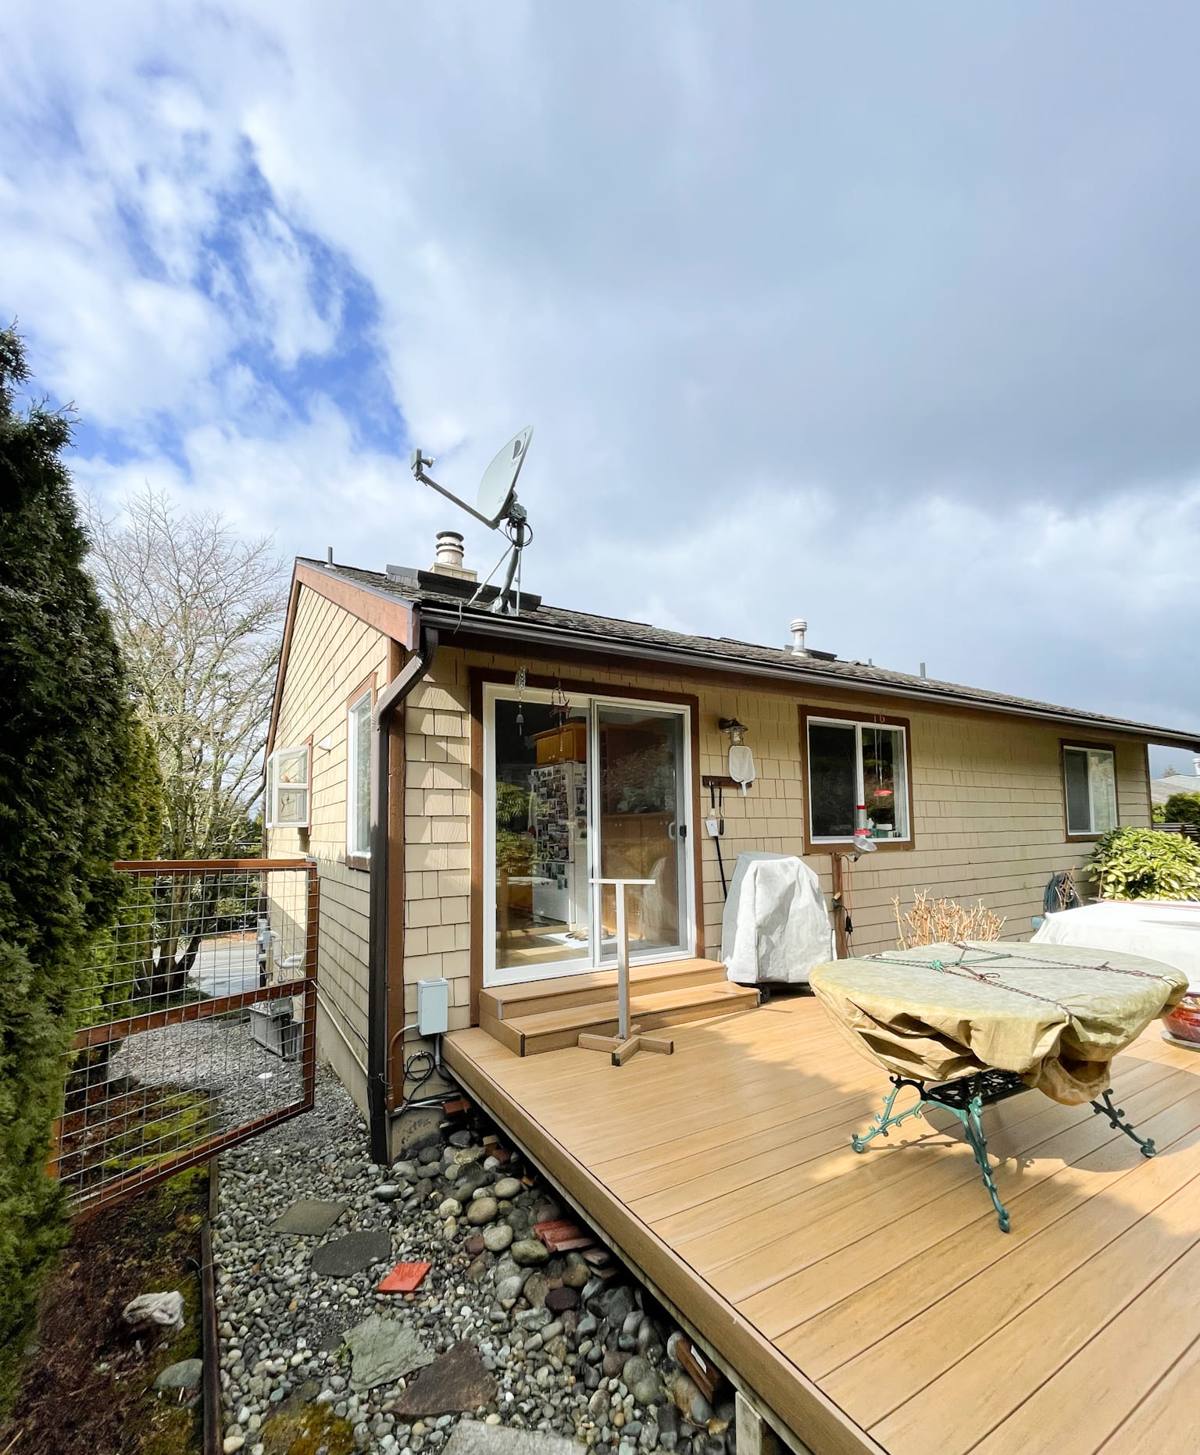
Why James Hardie Fits This Environment
This is why we install James Hardie fiber cement exclusively — we don't offer vinyl, LP SmartSide, Cemplank, Allura, or wood siding as alternatives. Fiber cement is dimensionally stable in a way wood-based and vinyl products aren't: it doesn't absorb moisture into a wood-fiber core, it doesn't warp or buckle with temperature swings, and it's non-combustible. In a marine climate with sustained damp periods, that stability matters more than it does in a drier region.
Engineered for This Climate
James Hardie builds its HardieZone system around regional climate profiles rather than selling one product everywhere. For homes in cooler, wetter parts of the Pacific Northwest, that means a formulation and installation spec designed around freeze-thaw cycling and sustained moisture exposure, not the heat and UV concerns that dominate in southern climates. We spec the product line and fastening schedule to match what this region actually throws at a house, not a generic national default.
ColorPlus Finish and Moss Resistance
The factory-applied ColorPlus finish matters as much as the substrate. It's baked on under controlled conditions, which gives it better adhesion and UV stability than field-applied paint — and a finish that isn't chipping or peeling doesn't give moss and algae the foothold they need to take hold. That's a real advantage in a neighborhood where a house can go months without a fully dry exterior wall.
What a Correct Installation Actually Involves
Fiber cement siding is only as good as the installation behind it. The board itself resists moisture well, but the wall assembly around it determines whether water ever gets a path inside. A correct job includes:
- A weather-resistive barrier installed with proper shingle-lap sequencing, not just stapled up flat
- A drainage gap or rainscreen behind the siding so incidental moisture can drain and the wall can dry, rather than trapping water against the sheathing
- Correct fastener type, spacing, and penetration depth per James Hardie's published installation instructions — under- or over-driven nails are one of the most common causes of early failure
- Proper clearance at grade, decks, and roof lines so board bottoms aren't sitting in standing water or snow load
- Factory-mitered or properly caulked joints at trim, with the right sealant for a fiber cement substrate
- Flashing integrated at every window, door, and penetration — not caulk used as a substitute for flashing
Any one of these steps done wrong can undercut a good product. We've re-sided homes where the boards themselves were fine, but the crew that installed them skipped the drainage gap or nailed through the factory finish in a way that let water track behind the plane. That's an installation problem, not a product problem, and it's exactly why we treat the install spec as non-negotiable rather than optional.
Correct Installation vs. Common Shortcuts
| Detail | Correct Approach | Common Shortcut We See |
|---|---|---|
| Weather barrier | Properly lapped house wrap or building paper, sealed at seams | Barrier installed flat with gaps or reverse-lapped seams |
| Drainage gap | Rainscreen or furring strips to let the wall breathe and drain | Siding fastened directly to the barrier with no airspace |
| Fasteners | Correct nail type, spacing, and depth per manufacturer spec | Overdriven nails that crack the board's outer face |
| Trim joints | Sealed with a fiber-cement-rated sealant, flashed where needed | Caulk alone used to bridge a gap that needs flashing |
| Grade clearance | Minimum clearance maintained above soil, hardscape, and roof lines | Board bottoms buried in mulch beds or too close to grade |
How We Approach a Sehome Project
Assessment First
We start with a walk-around that looks past the surface — checking for soft spots at the base of walls, moisture staining around windows, and how the existing siding has held up on the sides of the house that take the most wind-driven rain. That tells us whether we're dealing with a straightforward re-side or whether there's sheathing or framing damage that needs to be addressed before new siding goes up.
Tear-Off and Wall Prep
Old siding comes off, and we inspect the sheathing underneath rather than covering over problems. Any rot or compromised sheathing gets replaced before the weather barrier goes on. This is the step that gets skipped when a job is priced too low to allow for it — and it's the step that determines whether the new siding lasts.
Barrier, Drainage Plane, and Flashing
We install the weather-resistive barrier with correct lap sequencing, add a drainage gap, and flash every window, door, and penetration before a single piece of Hardie board goes up. This is the part of the job that's invisible once it's finished — and the part that matters most in a climate that stays wet for months at a stretch.
Installation to Spec
Boards go up per James Hardie's fastening schedule, with joints and trim sealed correctly and clearances maintained at grade, roofline, and decking. We don't deviate from the manufacturer spec to save time, because that spec is what the warranty is built on.
Final Walkthrough
We walk the finished job with the homeowner, checking caulk lines, trim details, and touch-up paint on any cut edges. Cut ends need field-applied touch-up to match the factory finish's protection — a detail that's easy to miss and important not to.
What Affects Cost on a Project Like This
| Factor | Why It Matters |
|---|---|
| Square footage and wall height | More surface area and multi-story elevations increase material and labor time |
| Existing wall condition | Rotted sheathing or framing found during tear-off adds repair scope |
| Trim and architectural detail | Corners, gables, and multiple trim profiles take more cutting and fitting time |
| Siding profile and color | Lap width, shingle-style panels, and premium ColorPlus colors vary in material cost |
| Site access | Landscaping, fencing, or tight setbacks can slow staging and cleanup |
We give firm, itemized estimates after the initial assessment rather than a phone-quote number, because the tear-off is usually what determines whether a project stays on budget.
Why a Crew That Already Works This Area Is Worth Choosing
A siding crew that mainly works drier, milder regions can install a technically correct assembly on paper and still miss details that matter here — drainage gap sizing suited to sustained rain, clearance details that account for a wetter ground line, or a fastening schedule that accounts for how long a wall stays saturated after a storm system moves through. Working Sudden Valley and neighborhoods like Sehome regularly means we're not guessing at how this climate behaves — we've seen how different assemblies perform over multiple wet seasons, and we build every install around that.
It also means we understand what local permitting and inspection expect, and we can speak plainly about what a home in this specific microclimate actually needs versus a generic national recommendation.
Signs Your Current Siding Is Struggling With This Climate
- Moss or algae building up on north- or west-facing walls faster than you can keep up with cleaning it
- Paint that's peeling, bubbling, or chalking, especially near the ground line or under eaves
- Caulk joints that have shrunk, cracked, or pulled away from trim
- Soft or spongy spots when you press on siding near the base of exterior walls
- Visible warping, cupping, or gaps opening up between boards
- Interior signs — musty smell, staining, or peeling paint on interior walls that back up to exterior siding
Any of these is worth a professional look before it turns into a sheathing or framing repair.
Ongoing Care Once James Hardie Siding Is Installed
Correctly installed Hardie siding is low-maintenance, not no-maintenance. In this climate, that means an annual rinse-down to keep moss and organic buildup from taking hold, a periodic check of caulk joints at trim and penetrations, and prompt touch-up of any cut edges or scuffs that expose the substrate. None of this is heavy work, but skipping it in a climate this consistently damp lets small issues turn into bigger ones faster than it would somewhere drier.
If your Sehome home is due for new siding, or you want a straight answer on whether your current siding is holding up the way it should, we're happy to take a look. Reach out for a free, no-pressure estimate using the form below.