 Sudden Valley Siding
 Why Sehome Siding Wears Differently Than It Should
Homes in and around Sehome deal with a specific combination of weather that most siding was never engineered for. You've got moisture-laden air off the water, driving rain that hits siding sideways instead of straight down, and long stretches of overcast, damp weather that keep exterior surfaces wet far longer than manufacturers assume when they write their installation specs. Add in a moss season that can stretch for months in Whatcom County, and you've got a climate that finds every weak point in a siding system and works on it year-round.
Most siding damage we see in this area isn't dramatic. It's not storm damage or an obvious impact. It's slow: a caulk joint that gave up two winters ago, a butt seam that was never properly flashed, a spot where moss has been sitting against the wall long enough to hold moisture against the substrate. By the time a homeowner notices soft trim, peeling paint, or a stain bleeding through, the damage has usually been building for a while.
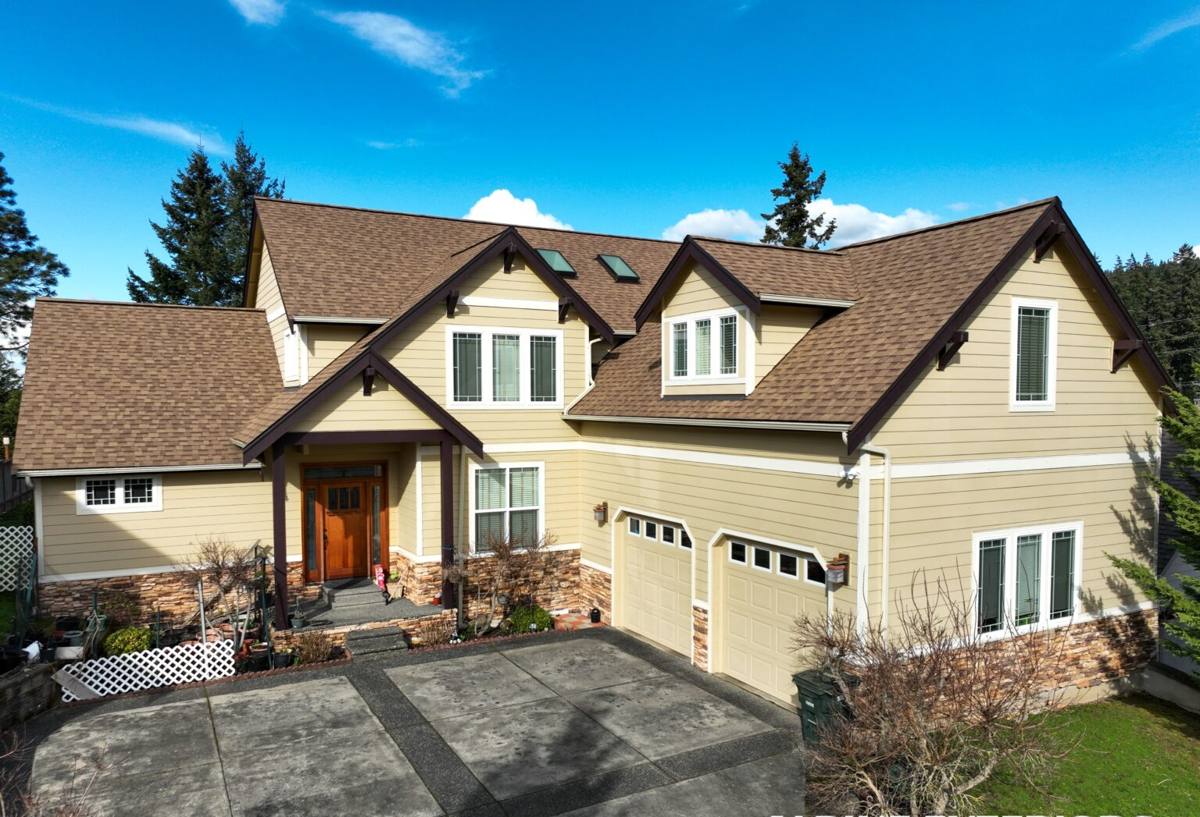
Signs Your Siding Needs Repair Now, Not Later
Catching siding problems early is the difference between a contained repair and a much bigger job. Walk your exterior and look for these signs, especially on north-facing walls and anywhere siding sits close to landscaping or shade:
- Soft or spongy spots when you press on siding or trim boards
- Visible gaps at seams, corners, or where siding meets windows and doors
- Streaking, dark staining, or a persistent damp smell near exterior walls
- Moss or algae growth that keeps returning to the same section of wall
- Paint that's bubbling, peeling, or failing faster on one side of the house
- Cracked, warped, or visibly separating siding panels or boards
- Interior signs — a musty smell, a soft spot on interior drywall, or a stain near an exterior wall
Any one of these on its own might be minor. Two or three together, especially clustered in one area, usually means moisture has gotten past the siding and into the wall assembly, which changes the scope of the repair.
What a Correct Repair Actually Involves
A lot of "siding repair" in this region amounts to caulking a gap and repainting over it. That buys a season, maybe two, before the same spot fails again — because caulk and paint address the symptom, not the reason water got in. A repair done right starts by figuring out why that section failed in the first place.
Diagnosis Before Anything Gets Touched
We pull back or remove the damaged siding to look at what's underneath: the house wrap or weather-resistant barrier, the flashing at windows and penetrations, and the sheathing itself. If the substrate is soft or water-stained, patching the visible siding without addressing what's behind it just seals moisture in.
Matching the Repair to the Rest of the Wall
Siding repair only looks right if the replacement section blends with what's already there — same reveal, same profile, same finish. This is one of the trickier parts of repair work on an existing Hardie installation, because factory-finished ColorPlus panels are baked to a specific batch and color. We keep track of common line and color combinations so a repaired section reads as part of the wall, not a patch.
Proper Flashing and Water Management
Every repair is an opportunity to fix a detail that was wrong the first time. If a seam failed because it wasn't flashed or lapped correctly, we correct that as part of the repair — otherwise you're paying to have the same failure happen again in a few years.
Common Repair Scenarios We See in This Area
| Damage Type | Typical Cause Locally | What the Repair Involves |
|---|---|---|
| Soft trim or corner boards | Standing moisture from driving rain and poor drainage detailing | Remove and inspect substrate, replace trim, correct flashing before reinstalling |
| Persistent moss staining | Shade, moisture, and long damp stretches typical of Whatcom County winters | Clean affected area, assess for underlying moisture damage, repair or replace panels as needed |
| Failed caulk joints and gaps | Age, sun exposure on south walls, movement at seams | Remove old sealant, inspect for water intrusion, reseal correctly with proper backer and joint prep |
| Cracked or impact-damaged panels | Debris, settling, accidental impact | Replace individual panels, match factory finish where possible |
| Bulging or warped siding | Moisture trapped behind the panel, often from a failed barrier or flashing | Full removal of affected section, barrier and flashing repair, new siding installed to spec |
Our Repair Process
- On-site inspection. We look at the affected area and the surrounding siding, not just the one spot you called about — related problems are often nearby.
- Honest scope assessment. We tell you whether this is a contained repair or whether the damage points to a larger issue worth addressing now.
- Written estimate. Clear about what's being repaired, what materials are used, and what the work will look like when it's done.
- Removal and inspection of the substrate. We don't reinstall over a wet or damaged wall.
- Repair of the underlying issue. Flashing, barrier, or framing repair happens before any new siding goes back on.
- Siding replacement and finish match. New material installed to manufacturer spec, matched as closely as possible to the existing wall.
- Final walkthrough. We show you what was found and what was done, in plain language.
Repair or Replace? How We Help You Decide
Not every damaged section needs a full re-side, and we're not going to tell you it does. A repair makes sense when the damage is localized, the rest of the siding is sound, and the cause has a clear fix. Replacement becomes the better financial decision when repair issues are showing up in multiple areas, when the siding is old enough that matching material is no longer realistic, or when repeated moisture problems suggest the whole wall assembly needs attention rather than one section.
The honest answer often depends on age and material. A ten-year-old Hardie installation with one damaged panel is a straightforward repair. A twenty-five-year-old wood or older composite siding system with soft spots in three different areas is usually telling you it's near the end of its useful life — repairing one spot just means you're back out here for the next one within a year or two.
Why We Only Repair With James Hardie Fiber Cement
We install and repair exclusively with James Hardie fiber cement siding. We don't patch damaged sections with vinyl, LP SmartSide, or other composite products, even when it would be the faster fix. Fiber cement is non-combustible, holds its factory ColorPlus finish far longer than field-painted materials, and is engineered in climate-specific HZ product lines that are built for exactly the wet, moss-prone conditions common in Whatcom County. Mixing materials on a repair also creates long-term problems — different expansion rates, different moisture behavior, and finishes that age at different rates, so a mismatched patch tends to become obvious and can create new water paths at the seams.
Sticking to one product system also means our crews know its installation requirements cold — proper clearances, fastener patterns, joint treatment, and flashing details — because it's the only system we work with. That consistency is a big part of why our repairs hold up.
Why a Crew That Already Works Sehome Matters
Siding repair done right depends on understanding how a specific climate attacks a specific wall. A crew that regularly works in and around Sehome and the broader Whatcom County area already knows which orientations take the worst of the driving rain, which conditions accelerate moss growth, and which older installation habits tend to fail first in this environment. That local pattern recognition shortens the diagnosis phase and helps us catch problems that a crew unfamiliar with the region might miss on a first look.
It also means we're not guessing at product performance in this climate — we've seen how Hardie siding holds up here over years of driving rain and moss season, and we build our repair details around what actually works locally, not just what a manual says in general terms.
Keeping Repaired Siding From Failing Again
A good repair should outlast the conditions that caused the original damage. A few habits help:
- Keep landscaping and shrubs trimmed back from siding to allow airflow and sun exposure
- Rinse moss and algae off siding before it gets a foothold, rather than after it's established
- Check caulk joints annually, especially around windows, doors, and trim
- Clear gutters and downspouts so water isn't running down or pooling against walls
- Have any new staining or soft spots checked promptly rather than waiting for the next season
If you're seeing signs of siding trouble on a Sehome-area home, we'll come take an honest look and tell you what's actually going on — no pressure, no upsell to a bigger job than you need. Reach out for a free estimate using the form below.