 Sudden Valley Siding
 New-Construction Windows in Columbia: What the Job Actually Involves
When a home is being framed in the Columbia area near Sudden Valley, the windows go in before the siding, before the trim, and often before the roof is fully dried in. That order matters. New-construction window installation isn't just "set the window and caulk the edges" — it's a sequence of flashing, sealing, and fastening steps that has to happen in the right order or the whole wall assembly is compromised before the drywall even goes up. Get it right at this stage and the windows will perform for decades with almost no attention. Get it wrong and you're chasing hidden leaks behind siding that looks perfectly fine from the street.
We install new-construction windows on new builds and additions around Columbia and the wider Sudden Valley area, working directly with framing crews, builders, and homeowners acting as their own general contractor. Our focus on this page is specifically that scope of work: windows going into new framing, not swap-outs in an existing wall (that's a different job with different rules).
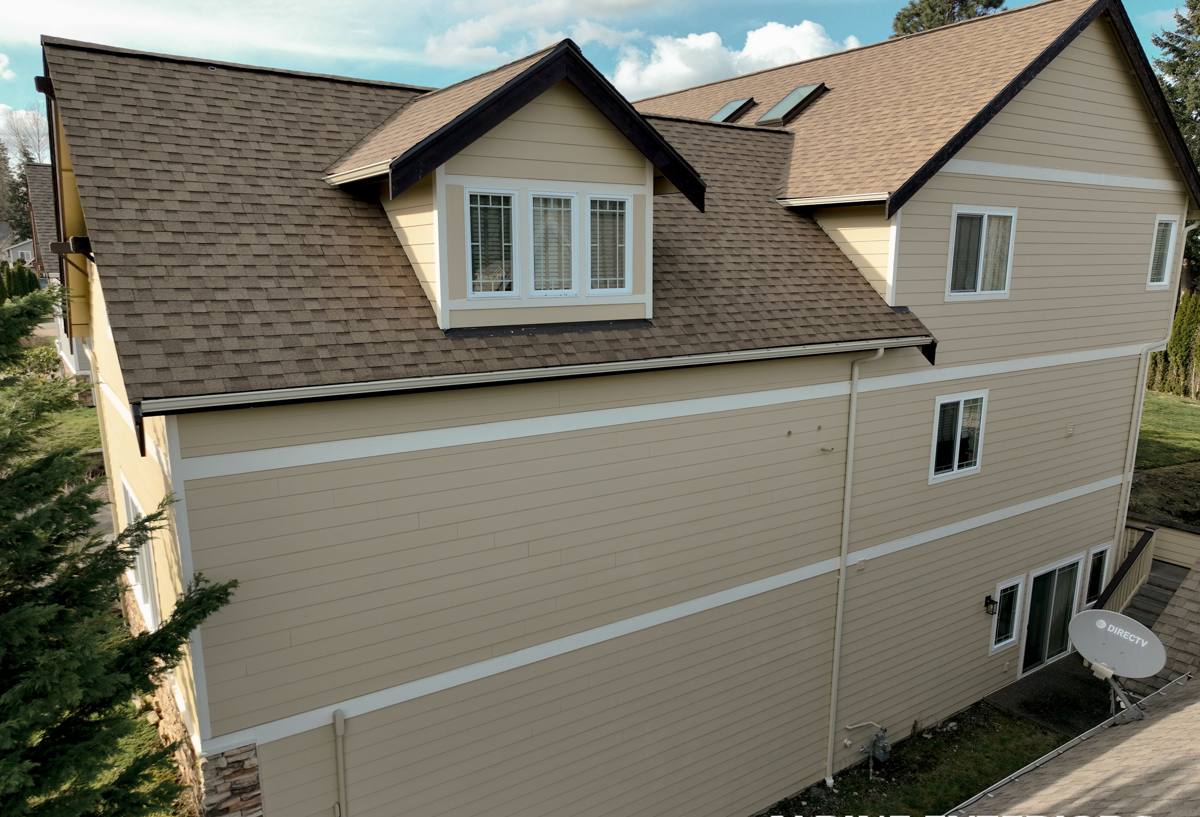
Why Whatcom County's Climate Changes the Window Installation Standard
Homes in this part of Whatcom County deal with a specific combination of weather stress: long stretches of driving rain that come in sideways off wind-driven storms, near-constant humidity that keeps north- and shade-facing walls damp for weeks at a time, and a moss season that runs most of the year on anything that stays wet and shaded. Add in the salt-tinged air that moves through the region and you get an environment that's hard on fasteners, flashing tape adhesives, and any gap in the water-management plan.
None of that is unusual for western Washington, but it means a new-construction window installation here can't be treated like a dry-climate job with a lighter-duty flashing detail. Every window opening has to be built as if it will see sustained wind-driven rain, because in a typical Whatcom County winter, it will. That's the standard we install to on every Columbia-area new build, regardless of what's written on the plan set.
What "correct" means in practice
- Every rough opening gets a sloped sill pan so water that gets past the window has somewhere to go — out, not into the wall cavity.
- Flashing tape is applied in strict shingle-lap order (bottom, sides, top) so gravity always drains water outward over the layer below.
- Housewrap integration happens before the window goes in, not patched around it afterward.
- Fastener and sealant products are matched for compatibility — mixing incompatible tapes, sealants, and housewrap chemistries is one of the most common causes of early flashing failure we see.
Nail-Fin vs. Pocket Windows: Why New Construction Is Different
New-construction windows use a nailing fin — a flange around the perimeter of the frame that gets flashed and fastened directly to the sheathing before siding goes on. This is different from a replacement or "pocket" window, which is designed to slide into an existing frame with the old frame left in place. The nail-fin approach is the right method for new framing because it lets us build a continuous, layered water barrier from the sheathing out, rather than working around what's already there.
The trade-off is that nail-fin installation has to happen at the right point in the build sequence — after the weather-resistive barrier is on but before siding starts — and it has to be coordinated with whoever is running housewrap and flashing tape on the rest of the shell. If that sequencing gets skipped or rushed, the window ends up flashed in isolation instead of as part of one continuous drainage plane, which defeats the purpose.
Flashing and Water Management: The Part That Determines Whether Windows Leak
Most window leaks we get called out to inspect, on any home, trace back to flashing detail rather than the window unit itself. The window is usually fine. The problem is almost always at the sill, the corners, or the head flashing where water was allowed to travel sideways or backward instead of being directed out and down.
On a new build in Columbia, we control every layer of that detail ourselves rather than inheriting someone else's shortcuts:
The sequence we follow on every opening
- Inspect and, where needed, correct the rough opening framing before anything is installed — a window is only as square and true as the opening it sits in.
- Install a sloped sill pan with back-dam protection so any water that reaches the sill drains outward, away from the interior framing.
- Set the window plumb, level, and square, shimmed at the manufacturer's specified points — not just at the corners.
- Flash the sides, then the head, in the correct shingle-lap order over the nailing fin.
- Integrate the housewrap over the head flashing so the whole assembly sheds water downward and outward, matching the drainage plane of the rest of the wall.
- Seal and caulk only where the manufacturer's instructions call for it — sealing the wrong spot can trap water instead of releasing it.
That last point trips up a lot of DIY and inexperienced installs: caulking the bottom of the nailing fin feels like it should help, but it can seal in any water that does get past the window instead of letting it drain out through the weep path. The sill pan and back dam are what handle that job — the caulk is not supposed to.
Materials and Frame Options for Columbia-Area New Builds
Frame material matters more here than in a drier climate, because whatever you choose has to hold up to sustained moisture exposure and, depending on the site, some salt-air influence, without warping, corroding, or feeding moss and mildew growth at the sills.
| Frame Material | Moisture Performance | Maintenance | Typical Fit for Columbia-Area Homes |
|---|---|---|---|
| Vinyl | Good — won't rot or corrode; dimensionally stable in wet cycles | Low — occasional cleaning | Strong value option for most new builds; performance depends heavily on installation quality |
| Fiberglass | Excellent — very stable across temperature and moisture swings | Low | Good upgrade where budget allows, especially on larger openings |
| Wood-clad | Depends on cladding integrity — exposed wood is vulnerable to our rain and moss exposure | Higher — finish and seals need periodic attention | Best reserved for protected elevations or homeowners committed to upkeep |
| Aluminum | Conducts cold and can corrode over time in humid, salt-influenced air without a quality finish | Moderate | Less common choice for this climate unless thermally broken and well-finished |
We don't push a single brand or material on every job — the right choice depends on the home's design, budget, and how exposed the elevation is to prevailing wind and rain. What we do insist on is installation quality, because even the best window unit will underperform if the flashing and sealing around it is wrong.
Our New-Construction Window Process, Start to Finish
1. Plan review and coordination
We review the window schedule against the plan set and the builder's timeline before framing is even complete, so ordering and lead times don't hold up the job.
2. Rough opening check
Before install day, we verify every rough opening is square, correctly sized, and properly sheathed. Framing tolerances get corrected here, not after the window is already set.
3. Sill pan and flashing installation
Sloped sill pans, back dams, and shingle-lapped flashing tape go in per the sequence above, matched to the housewrap system already on the wall.
4. Window setting
Units are set plumb, level, and square, shimmed at manufacturer-specified points, and fastened per the manufacturer's schedule to preserve the warranty.
5. Head flashing and housewrap integration
The top of the opening gets flashed and tied into the housewrap so the whole wall sheds water as one continuous system, not a patchwork of separate details.
6. Final inspection
We walk every opening before siding starts, checking operation, seal integrity, and flashing continuity — this is the last point where a correction is easy and cheap.
Coordinating with Builders and Framers
New-construction window work rarely happens in isolation — it sits between the framing crew and the siding crew, and timing errors on either side create problems for us. A few things we confirm before we ever set a window on a Columbia job site:
- Housewrap is installed and lapped correctly before window flashing begins
- Rough openings match the ordered window sizes — order discrepancies are far easier to fix before install day
- The window schedule accounts for Whatcom County lead times, especially for custom sizes or upgraded glazing packages
- Siding won't start until flashing has been inspected and approved
- Any required manufacturer installation documentation is kept on file for warranty purposes
Common Mistakes We See on New Builds Around Sudden Valley
Most of the repeat problems we get called to fix on newer homes trace back to a handful of avoidable errors:
- Sealant used in place of proper flashing tape at the sill, which fails faster under sustained rain than a correctly shingle-lapped system
- Housewrap installed over the nailing fin instead of correctly integrated around it, breaking the drainage plane
- Windows set out of square to "make it work" with an out-of-tolerance rough opening, straining the frame and hardware over time
- Missing or undersized sill pans, leaving no path for incidental water to drain back out
- Fasteners or tapes mixed from incompatible product lines, which can degrade adhesion faster in our humidity
Every one of these is preventable with the right sequence and a crew that treats flashing detail as seriously as the window unit itself.
What Affects the Cost of a New-Construction Window Package
| Cost Factor | Why It Matters |
|---|---|
| Number and size of openings | More and larger openings mean more flashing, labor, and material |
| Frame material and glazing package | Fiberglass and upgraded low-E or triple-pane glazing cost more than standard vinyl |
| Site exposure | Elevations facing prevailing wind and rain may warrant upgraded flashing details |
| Scheduling and lead time | Custom sizes and finishes can extend order lead time and affect overall build schedule |
| Access and site conditions | Sloped lots or restricted access around Sudden Valley can add labor time |
We won't quote a job off a plan set alone without walking the site and confirming rough openings — too many variables here affect both material selection and installation time to guess at a number sight unseen.
Why Hiring a Crew That Already Works in Columbia Matters
New-construction window installation done right depends on understanding the local weather this home actually has to survive, not a generic installation standard. A crew that regularly works Whatcom County new builds already knows how the region's rain, humidity, and moss cycle behave against a wall assembly over the first few winters — and builds the flashing detail accordingly from day one, rather than learning it from a callback. We coordinate directly with builders and framers on the timing that new-construction work requires, so windows go in at the right point in the sequence instead of being rushed or worked around.
If you're building or framing a new home in the Columbia area and want windows installed to hold up to what this climate actually delivers, we're happy to walk the site and talk through the options. Reach out for a free, no-pressure estimate using the form below.