 Sudden Valley Siding
 New-Construction Windows in Sunnyland: What the Job Actually Involves
When a new home or an addition goes up in Sunnyland, the windows go in before the siding does — not after. That order matters more than most homeowners realize. New-construction windows have a nailing flange built into the frame that gets fastened directly to the wall sheathing and integrated into the water-resistive barrier before any cladding is installed. Get that sequence right and the wall assembly sheds water for decades. Get it wrong and you end up with rot hidden behind brand-new siding, sometimes for years before it shows.
We work as the siding contractor on new-construction and addition projects around Sunnyland, which means we're often the crew coordinating window flashing with the rest of the exterior water-management system — house wrap, flashing tape, and the siding itself all have to work together as one assembly, not as separate trades doing their own thing.
New-Construction vs. Replacement Windows — Why It's a Different Job
Replacement (pocket) windows get inserted into an existing frame, working around siding and trim that's already there. New-construction windows are the opposite: the rough opening is bare, the flange gets fastened to structural sheathing, and the whole opening gets flashed from the framing out before any weather barrier or siding goes over it. It's a cleaner install with fewer compromises, but it also means there's no room for a rushed or out-of-sequence job — every layer has to lap correctly, because once the siding closes it up, you can't see what's underneath anymore.
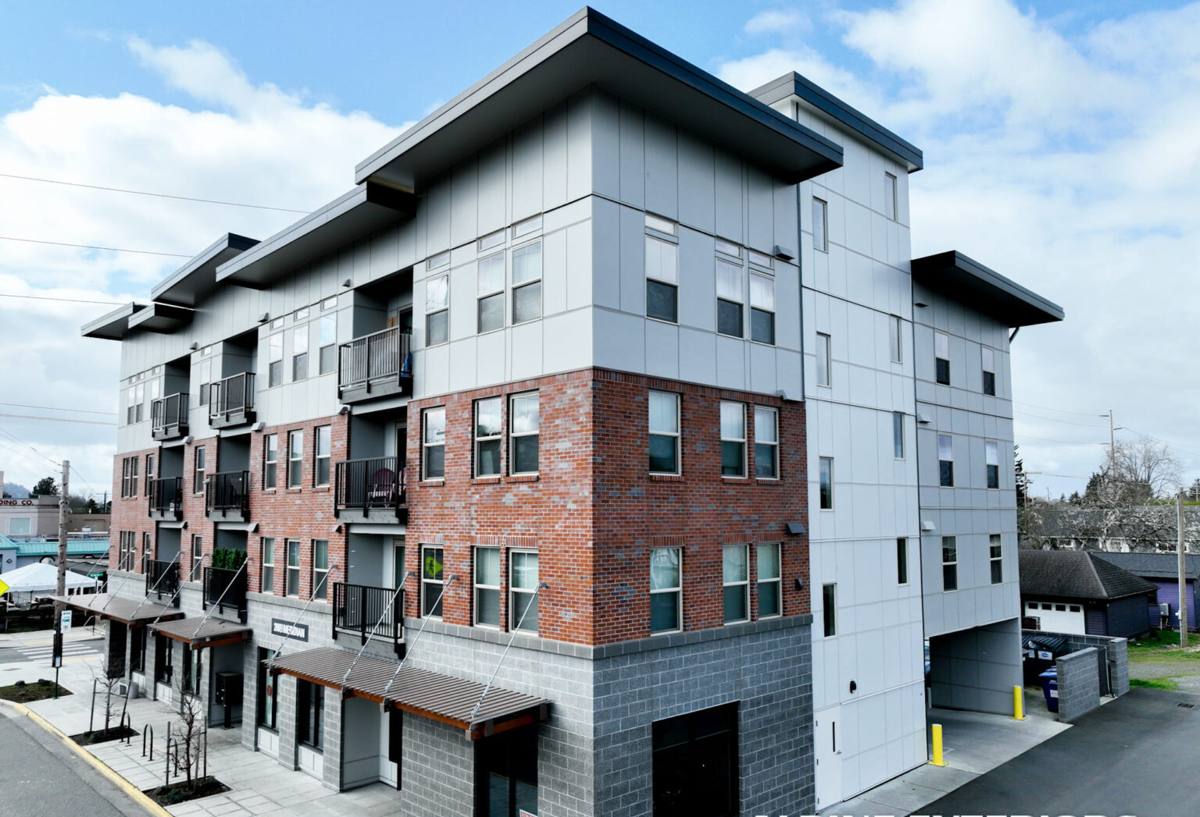
Why Whatcom County's Climate Changes How We Install These Windows
Sunnyland sits in a part of Whatcom County that deals with three things at once: salt-laden air off the water, wind-driven rain that hits walls at an angle instead of just falling straight down, and a long moss season where shaded, damp conditions persist for much of the year. None of these are exotic problems, but together they change what "correct" looks like on a window install.
- Driving rain pushes water sideways and upward under trim and flanges, which is exactly why sill pan flashing and correctly lapped tape — not just caulk — are non-negotiable here.
- Salt air accelerates corrosion on fasteners, hardware, and unprotected metal flashing, which pushes us toward stainless or coated fasteners and corrosion-resistant flashing at every opening.
- A long moss season keeps north- and shade-facing walls damp longer between dry spells, which means any flashing detail that's "good enough" in a drier climate can fail here simply because it never gets a chance to fully dry out.
None of this requires exotic materials — it requires discipline in sequencing and a crew that treats flashing as the job, not as a formality before the siding goes on.
What a Correct New-Construction Window Install Looks Like
The Sill Pan and Flashing Order
Every opening starts at the sill. We build or install a sloped sill pan so any water that gets past the window has somewhere to go — out, not into the wall cavity. From there, flashing goes on in strict shingle-lap order: sill pan first, then the window itself set into the opening, then side flashing over the flanges, then head flashing last, lapped over the top of the window flange and under the house wrap above it. Every layer overlaps the one below it, the same way roof shingles do, so gravity is always working with the assembly instead of against it.
Integrating with the Water-Resistive Barrier
The window opening isn't a separate system from the house wrap — it's a hole in it that has to be closed back up correctly. We tie the flashing at each opening into the surrounding weather-resistive barrier so water draining down the wall face is directed around the window, not into the rough opening. This is the step that gets rushed on jobs where the window crew and the siding crew aren't talking to each other. Since we're often doing both the coordination and the siding, that handoff doesn't get skipped.
Frame Material Matters Here — A Cost and Performance Comparison
Whatcom County's coastal-influenced climate treats window frame materials differently than a drier inland climate would. Here's how the common options stack up for new-construction installs in a salt-air, high-rain environment:
| Frame Material | Typical Cost Range | Salt Air / Moisture Resistance | Maintenance |
|---|---|---|---|
| Vinyl | Lower | Good — won't corrode or rot, but can flex/warp in extreme heat | Low — occasional cleaning |
| Fiberglass | Mid to upper | Excellent — very stable, resists moisture and temperature swings | Low |
| Aluminum | Mid | Fair — needs a quality thermal break and corrosion-resistant finish near salt air | Moderate |
| Wood-clad | Upper | Good if cladding and flashing details are done right; interior wood core is the vulnerable point | Higher — cladding and sealant checks over time |
There's no single "correct" material for every project — it depends on budget, the architectural style, and how exposed the opening is to weather. What we won't compromise on regardless of material is the flashing detail underneath it, because a premium window with a poor flashing job will still leak.
Our Process for Sunnyland New Builds and Additions
- Walk the plans and rough openings before framing is closed up, so flashing details are planned, not improvised.
- Confirm window specs and flange type match the wall assembly and house wrap system being used.
- Install sill pans and flashing in correct shingle-lap sequence at every opening.
- Set and fasten each window plumb, level, and square — a window that's slightly racked will bind, leak at the corners, or wear its weatherstripping unevenly.
- Integrate flashing tape and house wrap so the opening is fully tied into the wall's drainage plane before siding starts.
- Photograph flashing details at each stage for our own records, since this is the work that gets covered up once siding goes on.
Mistakes We See on Rushed New-Construction Window Jobs
Most window leaks we get called about years later trace back to one of a small handful of shortcuts taken during the original install:
- Caulk used in place of a proper sill pan — caulk fails long before flashing does, and it's the first line of defense, not the only one.
- Flashing tape applied out of shingle-lap order, so water gets funneled behind a seam instead of over it.
- Fasteners that aren't corrosion-resistant, which is a bigger problem this close to salt air than it would be further inland.
- House wrap that isn't properly lapped over the head flashing, leaving a gap right where wind-driven rain hits hardest.
- Windows set out of square, which stresses the frame, the seal, and the operating hardware over time.
A Checklist Before You Hire for New-Construction Windows
Whether you're a homeowner working with your builder or managing your own addition project, these are worth confirming before work starts:
- Ask specifically how sill pan flashing will be done at each opening — not just "we'll flash it."
- Confirm whether the crew coordinates directly with the window supplier on flange type and specs.
- Ask what fastener and flashing materials they use, and whether those choices account for coastal/salt-air exposure.
- Request photos of flashing details before siding covers them up.
- Check that window and door openings are addressed with the same flashing standard, not treated inconsistently.
- Ask how they handle window integration with your specific house wrap or weather barrier system.
Why a Crew That Already Works Sunnyland Matters
Wall assemblies that perform well in a drier inland climate can underperform here if the crew doesn't adjust for the extra moisture load. A crew that regularly works Sunnyland and the broader Sudden Valley area already knows to plan for driving rain angles, to spec fasteners and flashing that hold up under salt air, and to give extra attention to shaded walls where moss and lingering dampness are part of the reality, not the exception. That's not a marketing point — it's the difference between a flashing detail that's technically adequate and one that's actually built for what this area's weather does to a wall.
Timeline and What to Expect
New-construction window installs are scheduled around the framing timeline — windows typically go in once the structure is sheathed and before the house wrap and siding are closed up. On a typical single-family home this stage takes a matter of days, not weeks, but it's not a stage to compress. Rushing flashing sequence to hit a schedule is exactly how the mistakes above happen. We'd rather take the extra day to do the lapping order correctly than have anyone back at this wall in five years dealing with hidden water damage.
If you're planning new-construction windows for a build or addition in Sunnyland, we're happy to walk the plans with you and give you a straightforward, no-pressure estimate — just fill out the form below.