 Sudden Valley Siding
 Windows Built for Columbia's Whatcom County Climate
Homes in the Columbia area of Sudden Valley deal with a specific combination of weather that most window manufacturers design for on paper but rarely test for in practice: salt-laden air moving inland, wind-driven rain that hits window assemblies sideways rather than straight down, and a moss season that stretches for months and keeps every exterior surface damp longer than it should be. Individually, none of these are dramatic. Together, over years, they're exactly the conditions that expose a mediocre window installation.
Window failure in this part of Whatcom County rarely starts with the glass or the frame itself. It starts with the installation — a missed flashing detail, a bead of sealant asked to do a job it can't, a sill pan skipped to save an hour. The window looks fine for a year or two, then the sheathing behind it starts to tell a different story. Our approach to window installation in Columbia is built around preventing that story from ever starting.
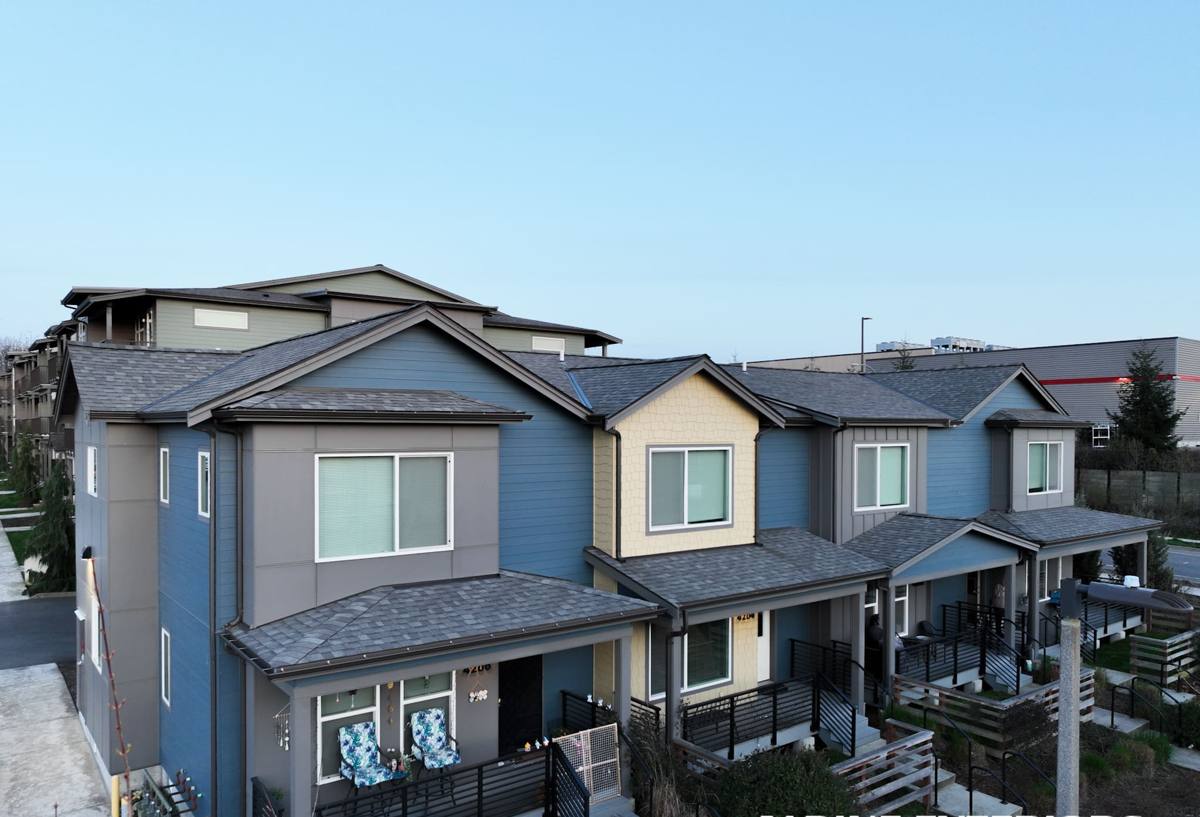
Signs a Columbia Home Needs New Windows or a Reinstall
Not every window problem means full replacement, but ignoring early signs almost always turns a window repair into a wall repair. Homeowners in this area should watch for:
- Fogging or a hazy film between panes of double-glazed windows (a failed seal, not a cleaning issue)
- Soft, spongy, or discolored trim and sill boards around the window frame
- Visible moss or green staining creeping onto the window casing itself, not just the roof
- Drafts you can feel with a hand near the frame on a windy day, even with the window latched
- Paint that's bubbling or peeling specifically at the corners of the window opening
- Windows that are noticeably harder to open, close, or lock than they used to be
Any one of these can be minor. Two or three together, especially on the sides of a house that face prevailing weather, usually mean water is getting past the exterior finish and into the framing — and that it's been happening for a while.
What a Correct Window Installation Actually Involves
"Window installation" sounds simple, and the window itself is the easy part — it's manufactured to spec and shows up ready to go in. The work that actually determines whether a window lasts is everything around it, and it's the part that's easiest to shortcut.
The Sequence That Matters
- Remove the old window and inspect the rough opening and sheathing for hidden rot before anything new goes in
- Repair or replace any damaged framing — never install a new window into a compromised opening
- Install a sloped sill pan so any water that gets past the window has somewhere to drain, not pool
- Apply flashing tape and house wrap integration in the correct shingle-lap order, so water sheds outward and downward at every layer
- Set the window plumb, level, and square, then fasten per the manufacturer's nailing schedule
- Seal and insulate the gap between the window and framing without over-packing, which can bow the frame
- Finish with exterior trim, caulking, and touch-up that actually match the surrounding siding profile
Skip or rush any one of these steps and the window itself becomes irrelevant — water finds the weak point, and in a wet climate like this one, it finds it fast.
Why Flashing Detail Is the Real Difference-Maker Here
Driving rain doesn't fall on a window — it hits it at an angle, sometimes repeatedly for days during a Whatcom County storm system. That means water is constantly testing the seams around a window, not just sitting on the sill. Proper flashing layered correctly with the house wrap is what keeps that water moving outward instead of finding its way behind the siding. It's invisible once the trim goes back on, which is exactly why it's the detail some installers skip.
Window Materials: What Holds Up in This Climate
Every window material has trade-offs. In a marine-influenced, high-moisture climate like Sudden Valley's, some of those trade-offs matter more than they would in a drier region.
| Frame Material | Moisture / Salt Air Performance | Maintenance | Typical Cost Tier |
|---|---|---|---|
| Vinyl | Good — won't rot or corrode, but can warp under sustained heat/cold cycling | Low — occasional cleaning | Lower |
| Fiberglass | Excellent — dimensionally stable, resists moisture and salt exposure well | Low | Mid to Upper |
| Wood (unclad) | Poor without diligent upkeep — attractive but vulnerable to the region's damp/moss cycle | High — regular painting/sealing required | Mid to Upper |
| Wood-clad (aluminum or vinyl exterior) | Good — protected exterior with wood interior warmth | Moderate | Upper |
| Aluminum | Fair — durable but a poor thermal performer; can condensate in cold, damp conditions | Low | Lower to Mid |
We don't push one brand or material on every Columbia homeowner. We do steer people away from unclad wood exteriors in this specific climate unless they genuinely want the upkeep — it's less about the wood being a bad product and more about being honest that a damp, moss-prone climate asks a lot of any painted wood surface facing the weather. That's our standard, not a knock on the product itself.
Our Window Installation Process
We keep the process straightforward and communicate at each step, because window replacement means openings in your exterior walls for a period of time and homeowners deserve to know what's happening and when.
- On-site assessment: we look at existing windows, framing condition, and any moisture or moss issues before quoting anything
- Product selection: we walk through material, glazing, and performance options suited to your home's exposure
- Scheduling around weather: we plan installation windows to minimize how long any opening sits exposed, given how often rain moves through this area
- Removal and inspection: old windows come out and framing gets checked before we commit to the new install
- Installation: sill pan, flashing, and fastening done to the sequence above, one window at a time to limit exposure
- Trim and finish: exterior trim and caulking matched to your home's existing look
- Final walkthrough: we check operation, seals, and finish with you before calling the job done
Installation Mistakes We See When We're Called In After the Fact
A fair amount of our window work in the Sudden Valley area is repair or reinstall work following someone else's installation. The recurring issues are almost always the same:
- No sill pan flashing, so water that gets past the window sits directly on bare framing
- Caulk used as the primary water barrier instead of proper flashing — caulk is a backup, not a system
- Window openings that were never checked for square, leaving gaps packed with excess sealant instead of shimmed correctly
- House wrap cut but never properly integrated with the window flashing, leaving a gap water can find
- Trim reinstalled over damaged sheathing without repairing it first
None of these show up on day one. They show up two, five, or eight years later as soft trim, interior staining, or a musty smell near the window — right when the original installer is long gone.
What Window Installation Costs Depend On
We don't publish fixed prices because the honest answer is "it depends," but the factors that actually move the number are consistent:
| Factor | Why It Matters |
|---|---|
| Number and size of windows | Larger openings and multi-window jobs affect both material and labor cost |
| Frame material chosen | Vinyl, fiberglass, and wood-clad options sit at different price tiers |
| Framing condition | Rot repair discovered mid-project adds time and material beyond the window itself |
| Glazing and glass upgrades | Double vs. triple pane, low-E coatings, and gas fills change unit cost |
| Trim and siding tie-in | Matching existing trim profiles or siding can add finish work |
| Access and building height | Second-story or hard-to-reach windows take more time to install safely |
We give a firm, itemized quote after we've actually looked at your windows and framing — not a phone estimate that changes once we're on site.
Why a Crew That Already Works in Columbia Matters
Window installation isn't one-size-fits-all across Whatcom County. A house facing open water exposure needs different flashing attention than one tucked into a more sheltered lot, and a crew that's worked the Sudden Valley area regularly already knows which orientations tend to take the worst of the driving rain and which homes are more prone to moss creep on the north and west sides. That local pattern recognition shows up in small decisions — where we add extra flashing detail, what sealant actually holds up through this area's wet season, which framing repairs are worth flagging before they become bigger problems. It's not a substitute for doing the installation correctly, but it means fewer surprises and fewer callbacks.
After Installation: Keeping Windows Performing
New windows installed correctly should need very little from you, but a few habits extend their life in this climate:
- Rinse pollen, salt residue, and grime off frames and glass a couple of times a year
- Check and clear weep holes on the exterior sill so drainage paths stay open
- Inspect exterior caulking annually, especially after the wettest months, and touch up any cracking
- Keep gutters and nearby vegetation clear so runoff isn't draining directly onto window heads
- Watch for early moss or algae forming on trim and address it before it spreads to the window casing
If your Columbia home has windows that fog, stick, draft, or show soft trim, or you're planning a straightforward upgrade before the next wet season sets in, we're glad to take a look. Request a free, no-pressure estimate using the form below and we'll walk your home's windows with you in person.